
Views: 0 Author: Site Editor Publish Time: 2026-08-01 Origin: Site


Achieving flush, structurally sound edge-to-edge joinery is a primary benchmark of professional woodworking, but it requires precise mechanical alignment and maximized glue surface area. Misaligned joints, severe tear-out, and wasted hardwood stock frequently occur due to improper bit selection, incorrect router setup, or attempting complex joinery with inadequate tooling. Relying on basic butt joints for wide panel glue-ups often leads to failure under stress or seasonal wood movement. Mastering the setup and application of specialized Router Bits eliminates guesswork, transforming inconsistent panel glue-ups and cabinet assemblies into highly repeatable, production-grade processes. By understanding the mechanical requirements of the joint and implementing strict milling prerequisites, you can produce flawless, interlocking profiles that require minimal clamping pressure and zero post-glue-up flattening.
Tooling Selection: Two-piece matched bit sets offer superior production speed and consistency over single reversible bits by eliminating the need for mid-process height adjustments.
Equipment Mandate: Tongue and groove joinery requires a router table; using these specific profiles in a handheld plunge router introduces severe safety risks and guarantees inaccurate cuts.
Stock Preparation: The success of the joint is entirely dependent on milling all stock to an identical thickness prior to routing.
Alternative Applications: While tongue and groove is ideal for flat panels, projects requiring mechanical locking or modularity should utilize Dovetail Joint Router Bits or T-Slot Router Bits, respectively.
Defining the structural requirements of edge-to-edge and frame-and-panel assemblies dictates the tooling approach. Flat panel assemblies, such as tabletops or cabinet doors, demand significant strength to prevent failure along the glue line. Edge-to-edge gluing alone often lacks alignment support during clamping, causing boards to slip out of phase. The interlocking profile of a tongue and groove joint exponentially increases the available glue surface area. It provides automatic vertical alignment during clamping. This mechanical advantage prevents boards from shifting under heavy clamp pressure, ensuring the final panel remains flat.
Establishing the baseline for a perfect joint prevents wasted material and weak assemblies. A perfect joint requires a friction fit that needs only light hand pressure to assemble smoothly. You must leave adequate room for glue expansion inside the groove, typically a 1/16-inch gap at the bottom. The result is perfectly flush adjacent faces requiring minimal sanding or planing. A joint that requires a mallet to assemble is too tight and will starve the joint of glue. A joint that falls apart under its own weight is too loose and compromises structural integrity.
Wood movement plays a significant role in joint mechanics. Solid wood expands and contracts across the grain with seasonal humidity changes. The tongue and groove profile accommodates this movement better than rigid dowels or biscuits. When used in frame and panel construction, the floating center panel rests inside the groove without glue, allowing it to expand and contract freely without splitting the stiles and rails.
Comparing tooling options based on workflow efficiency, setup complexity, and shop constraints helps determine the right purchase. Selecting the right cutter profile dictates your shop efficiency and the quality of your output.
A single bit cuts both profiles by adjusting the bit height and flipping the stock. You run the groove cut first, then adjust the router lift to cut the mating tongue. Woodworkers often buy a single reversible bit and mistakenly search for a matching partner bit. The single profile is engineered to cut both the tongue and the groove through precise height adjustments. This misconception causes unnecessary confusion for beginners trying to match profiles.
Lower upfront cost makes it accessible for occasional projects.
Requires less storage space in the tooling cabinet.
High risk of misalignment during the mandatory height adjustment between cuts.
Highly inefficient for high-volume batching due to constant machine resetting.
This setup utilizes two separate bits. One is dedicated entirely to cutting the groove, and the other is dedicated to cutting the tongue. They are shimmed to match perfectly from the factory. This eliminates the guesswork of matching profiles manually and allows for rapid processing of large material stacks.
Zero height adjustment required once the initial depth is set.
Ideal for rapid production and guaranteed repeatability across multiple projects.
Higher initial investment compared to single bits.
Requires swapping bits in the collet or running two separate router tables.
Micro-grain carbide-tipped cutters outperform high-speed steel for longevity and heat dissipation. They leave clean cuts in dense hardwoods like oak and maple without burning the end grain. High-quality carbide resists chipping when encountering knots or dense grain patterns. Cheaper bits vibrate under load, causing chatter marks that weaken the glue joint and require excessive sanding.
Feature | Single Reversible Bit | Two-Piece Matched Set |
|---|---|---|
Setup Time | High (requires mid-process adjustments) | Low (set once and run) |
Repeatability | Moderate (prone to human error) | Excellent (factory matched) |
Best Application | Hobbyists, occasional use | Production shops, frequent use |
Adjustment Mechanism | Router lift height changes | Micro-shims between cutters |
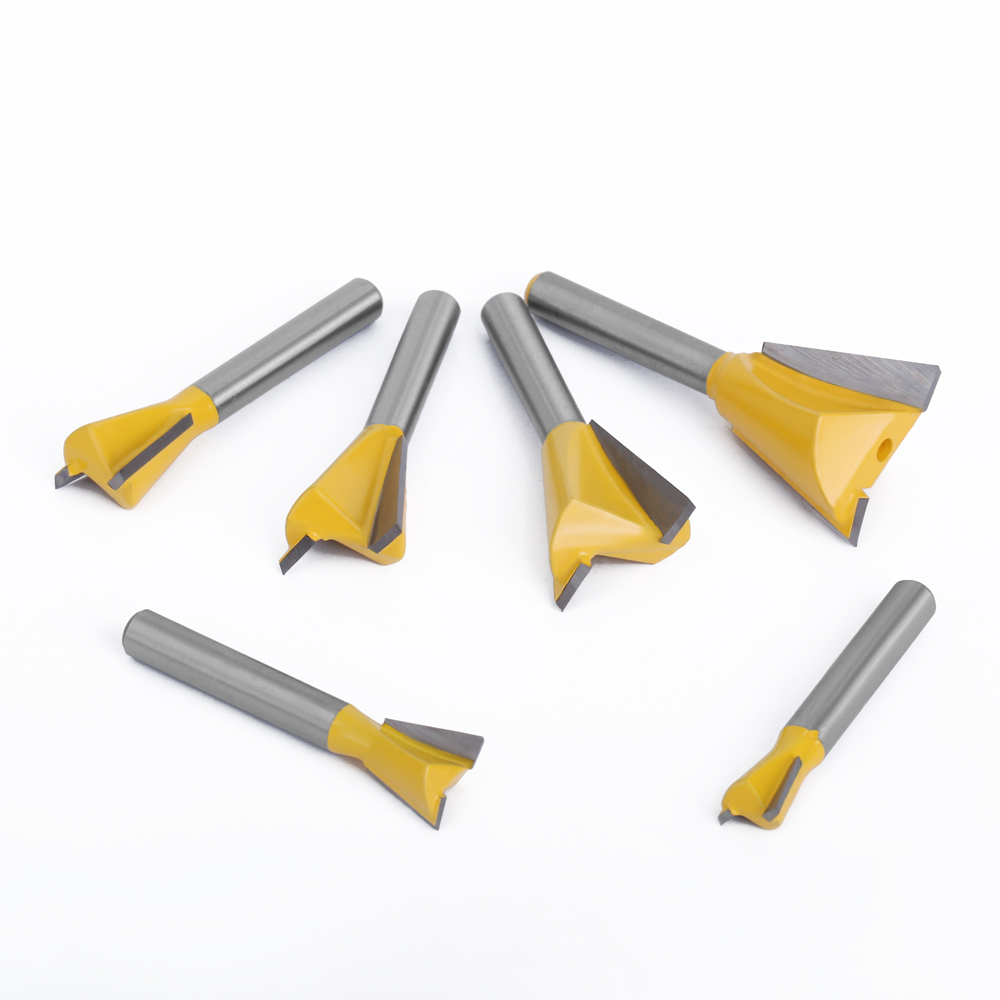
Addressing the strict hardware prerequisites for safe operation prevents severe injury and ruined stock. Cutting large profiles requires heavy-duty machinery and rigid setups.
These bits cannot be used with a plunge base or handheld setup. Handheld routing lacks stability and introduces severe kickback risk when spinning large diameter cutters. A fixed-base motor mounted in a heavy router table is highly preferred. It prevents micro-movements and depth slippage under heavy load. The table needs a perfectly flat surface, typically cast iron or thick phenolic, and a rigid fence. The motor must have sufficient horsepower, ideally 2+ HP, to spin large cutters safely through dense hardwoods.
All boards must be jointed and planed to the exact same thickness. Variations in thickness compound into stepped, uneven joints that require hours of sanding to fix. You cannot fix poor milling with a router bit. Spend time at the jointer and planer to ensure identical stock dimensions. Ensure all edges are perfectly square to the face before routing.
Use featherboards to maintain downward and inward pressure against the fence. Push blocks keep hands away from the cutter and ensure a consistent feed rate. Consistent feed rates prevent burn marks and tear-out. Never trap the wood between the fence and the cutter. Always feed the material against the rotation of the bit to maintain control.
Following a strict sequence of operations ensures accuracy and safety. Methodical execution prevents wasted material and guarantees a flush fit.
Align the center of the groove cutter with the exact center of the stock thickness. Set the fence depth to dictate the length of the tongue and the depth of the groove. This is typically 1/4 inch to 3/8 inch deep depending on the material thickness. Lock the fence securely to prevent shifting during the cut. Use a setup block or brass gauge bars to verify the depth before turning on the machine.
Always cut the groove first. It is easier to micro-adjust the tongue to fit an existing groove than the other way around. Route the groove in a single continuous pass. Multiple incremental passes cause misalignment and step marks inside the joint. Run all mating pieces face-down on the table. This ensures flush top surfaces regardless of minor thickness variations in the stock.
Swap to the tongue bit or adjust the reversible bit. Make a test cut on scrap wood of the exact same thickness as your project material. Use the physically cut groove from Step 2 as a height layout guide. Align the tongue cutters before running scrap stock. Utilize brass shims or router lift micro-adjustments to achieve the ideal friction fit. Test the fit; it should slide together with firm hand pressure but not require a mallet.
Standard tongue and groove sets struggle on 1/4 inch material because the cutters are simply too large. Use a 1/8 inch slot cutter for the groove instead. Use a rabbet bit on both sides of the stock to form the tongue. This workaround yields excellent results on thin panels used for drawer bottoms or small boxes.
Comparing tongue and groove against other specialized joinery profiles based on project requirements ensures structural integrity. Different structural needs require different tooling approaches.
Sometimes projects require mechanical modularity rather than permanent glue joints. This is where T-Slot Router Bits excel. They are best for creating custom jigs, track systems, and knockdown furniture. Hardware like hex bolts or T-tracks slide within the wood easily. They provide excellent modularity and hardware integration. However, they offer no edge-to-edge gluing strength and should not be used for panel glue-ups.
For high tensile strength, choose Dovetail Joint Router Bits. They are best for drawer boxes, casework, and sliding mechanical joints. They provide superior mechanical locking against pulling forces compared to tongue and groove. They require specialized jigs and more complex setup procedures to execute correctly, but the resulting joint is nearly indestructible.
Even with perfect setup, minor issues can arise during milling. Diagnosing and fixing these problems quickly maintains workflow and prevents material waste.
Incorrect shim placement in a two-piece set causes poor fit. Inaccurate height adjustment in a single bit also leads to this issue. Fix this by adding or removing micro-shims between the cutters. Sand the tongue lightly for tight fits if the cut is already made. Never force a tight joint together with a hammer, as it will split the grooved board.
Feeding stock too fast causes severe tear-out along the grain. Feeding too slow causes burning, especially in cherry or maple. Dull carbide or incorrect router RPM also contribute to poor cut quality. Adjust router speed based on bit diameter; larger bits require slower speeds. Use a backing board to prevent blowout at the end of the cut.
Inconsistent downward pressure during routing causes stepped faces. Failing to reference the same face against the router table is another major cause. Strictly use featherboards to maintain pressure. Mark reference faces prior to routing to avoid flipping boards incorrectly during the milling process.
Tongue and groove joinery remains the industry standard for flat panel glue-ups and cabinet backing. It provides an excellent balance of strength and alignment capabilities. For hobbyists, a high-quality single reversible bit suffices. For production environments, investing in a matched two-piece carbide set is mandatory for time savings. Proper setup ensures perfect results every time.
Audit current router table setup for stability and fence squareness.
Verify router collet size, prioritizing 1/2 inch shanks for large bit stability.
Prepare and mill scrap stock for initial calibration tests.
Inspect carbide edges for chips before beginning high-volume routing.
A: No. These bits require the stability and fence support of a router table to ensure safety and accuracy. Handheld use risks severe kickback and ruined stock.
A: Tongue and groove features an interlocking profile that restricts vertical movement. Shiplap uses overlapping rabbets that allow for more seasonal wood movement but provide less structural rigidity.
A: If using a two-piece set, adjust the spacing shims between the cutters. If the cut is already made, a few passes with fine sandpaper or a shoulder plane can ease the fit.
A: Standard sets are too large. Use a 1/8 inch slot cutter for the groove and a rabbet bit to cut the tongue on both sides.
A: Burning occurs when the feed rate is too slow or the router RPM is too high. Decrease the router speed or feed the stock slightly faster. Clean resin buildup off the bit.
A: For solid wood panels, apply glue sparingly to avoid squeeze-out issues. For frame and panel doors, do not glue the floating panel inside the groove to allow for seasonal expansion.


