
Views: 0 Author: Site Editor Publish Time: 2026-07-11 Origin: Site


Misaligned or sloppy tongue and groove joints compromise structural integrity and ruin expensive hardwood, turning a straightforward joinery task into a costly frustration. Achieving a flawless, friction-fit joint requires micro-millimeter precision in bit height, fence alignment, and feed rate. Standard visual alignment and guesswork consistently fail to produce repeatable results. A systematic, evidence-based approach to evaluating, selecting, and calibrating Router Bits is required to eliminate tear-out, ensure flush faces, and guarantee long-term joint stability. When you mill custom flooring or assemble solid wood panels, the margin for error is practically zero. A joint that is too tight starves the glue line, while a loose fit relies entirely on the adhesive rather than mechanical strength. We need to establish a rigid setup protocol. This means locking down your router table, verifying stock thickness, and using physical setup blocks instead of tape measures. By standardizing your calibration process, you stop wasting premium lumber on failed test cuts and start producing seamless, professional-grade joinery every single time.
Order of Operations: Always mill the groove first; it serves as the fixed physical reference point for calibrating the tongue bit.
Tooling Selection: Matched bit sets reduce setup time for standardized stock, while adjustable slot cutters offer necessary versatility for varying material thicknesses.
Reference Faces: Consistent referencing of the "show" face against the router table is mandatory to prevent offset surfaces, regardless of minor stock thickness variations.
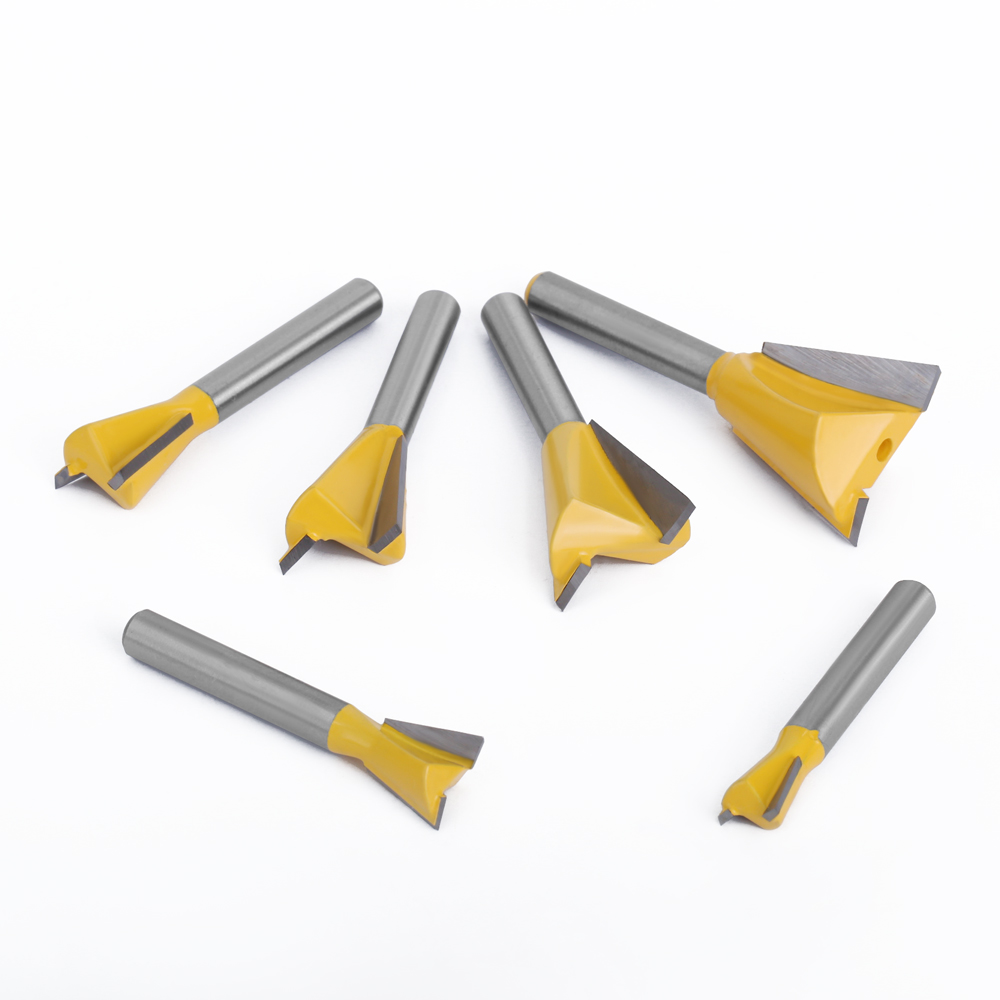
Alternative Joinery: Depending on load-bearing requirements, standard tongue and groove may need to be substituted with mechanical locking profiles using T-Slot Router Bits or Dovetail Joint Router Bits.
Establishing the baseline requirement is the first step in milling joinery. The joint must hold together dry without excessive force. You want a smooth assembly process that allows room for a thin, even glue layer. If you have to hammer the boards together, the fit is too tight. A tight fit forces all the glue out of the joint, leading to a weak bond and potential wood splitting. Conversely, a loose fit relies entirely on the adhesive for structural strength. This will eventually fail under stress or seasonal wood movement. The ideal friction fit allows you to push the boards together by hand. They should stay connected when lifted, but slide apart with a gentle tap.
Eliminating post-assembly sanding and planing saves hours of labor in the shop. You achieve this by ensuring exact surface alignment across joined boards. When the tongue and groove are milled perfectly center, the faces of the adjoining boards sit perfectly flush. Even a fraction of a millimeter off-center creates a noticeable step between the boards. This requires aggressive sanding that can ruin the thickness of your stock and alter the final dimensions of your project. Precision setup on the router table eliminates this issue entirely. You must reference the exact same face of every board against the table surface to guarantee this flush alignment.
Engineering a 1/16-inch gap at the bottom of the groove is a non-negotiable step for long-term stability. This small space accommodates hydraulic pressure from glue expansion. When you apply wood glue and clamp the joint, the liquid needs somewhere to go. Without this bottom clearance, the trapped glue prevents the joint from closing fully. It acts as a hydraulic cylinder, pushing the boards apart. It can even cause the wood to split under heavy clamping pressure. A slightly shorter tongue guarantees the shoulders of the joint meet perfectly tight, leaving the hidden gap inside to handle the excess adhesive.
These are pre-calibrated complementary profiles designed for high-volume, standardized production. Think of Shaker-style cabinet doors utilizing standard 1/4-inch panels. Matched sets come with two separate bits. One cuts the tongue, and the other cuts the groove. They are highly efficient for repetitive tasks. You set the height once for your stock, and you can mill hundreds of linear feet without changing the setup. However, they are strictly limited to specific, uniform stock thicknesses. If your wood varies in thickness, the center point shifts, causing alignment issues. You must mill all your stock to the exact same dimension before using matched sets.
This option features a single shank utilizing interchangeable cutters and bearings to mill both the tongue and the groove. You rearrange the cutters and shims on the arbor to switch between profiles. They are highly adaptable to custom or irregular stock thicknesses. You can add or remove shims to adjust the width of the cut down to the thousandth of an inch. The downside is that they require meticulous re-calibration between cuts. Taking the bit apart and reassembling it increases the risk of user error. It also slows down production if you are constantly switching back and forth between milling tongues and grooves.
You can utilize a single straight-flute or down-cut spiral bit on a router table to mill both components. This involves making multiple passes and flipping the stock. It is highly cost-effective for occasional hobbyists who do not want to invest in specialized tooling. However, it requires complex fence indexing and multiple setups. It significantly increases production time compared to dedicated joinery bits. The risk of tear-out is also higher when nibbling away at a tongue profile with a standard straight bit. You must use featherboards and push blocks to maintain absolute control over the workpiece during these unsupported cuts.
Understanding the operational differences between standard Imperial sets and European metric sets is vital for accurate joinery. For instance, matching 4mm cutters with a 4mm bearing ensures exact depth control. Mixing metric cutters with imperial bearings leads to mismatched depths and ruined stock. Ensuring shank sizes match your router collet is equally important. Using a 1/2-inch shank in a 1/2-inch collet eliminates vibration, runout, and hazardous bit slippage. Never use adapter sleeves for heavy joinery cuts. The rotational mass of a large joinery bit requires the maximum gripping surface area provided by a native 1/2-inch collet.
Sometimes standard friction joints are insufficient for the project's load-bearing requirements. Evaluating lateral tension helps you decide when to upgrade your joinery method. High-stress applications require mechanical locking alternatives. Transitioning to Dovetail Joint Router Bits provides immense mechanical strength for high-tension drawer boxes and casework. For hidden hardware integration and modular jig tracks, T-Slot Router Bits offer the perfect captive track solution. These specialized profiles prevent the joint from pulling apart laterally, reducing the reliance on glue alone. They require precise depth settings and often a relief cut with a standard straight bit before routing the final profile.
Tooling Option | Best Application | Primary Advantage | Main Limitation |
|---|---|---|---|
Two-Piece Matched Sets | Standardized cabinet doors, flooring | Fast setup, repeatable accuracy | Limited to specific stock thickness |
Adjustable Assemblies | Custom furniture, variable stock | Highly versatile, adjustable width | Requires teardown between cuts |
Straight Bits | Occasional hobby use | Low initial cost | Slow, requires multiple passes |
Dovetail Bits | Drawer boxes, high-tension joints | Mechanical locking strength | Requires precise depth and angle setup |
Leveraging pre-milled brass setup bars provides instant physical height reference. You can also use custom acrylic setup blocks matched to specific profiles. These blocks eliminate the guesswork of reading a tape measure. You simply place the block next to the bit and raise the router lift until the cutting edge touches the top of the block. This guarantees a perfect depth of cut every single time. Setup blocks are inexpensive and drastically reduce calibration time. They are machined to exact tolerances, ensuring that your 1/4-inch groove is exactly 1/4-inch off the table surface.
Utilizing digital height gauges, dial indicators, or vernier calipers is necessary for micro-adjustments. You need to measure bit projection to the nearest thousandth of an inch. A digital height gauge sits flat on the router table and extends a probe over the cutting edge. This provides an exact numerical readout. When you are chasing a perfect friction fit, a fraction of a millimeter matters. Precision instruments give you the data needed to make informed adjustments. Relying on your eyes to line up a pencil mark will result in sloppy joints and wasted material.
Utilizing a saved, perfectly executed scrap joint cut from a previous run is incredibly helpful. This acts as a physical reference template for future setups. Once you dial in the perfect joint, do not throw the test pieces away. Label them with the material thickness and bit used. The next time you run that same profile, use those scrap pieces to set your bit height and fence depth instantly. You slide the template against the bit, adjust the height until the cutters slide perfectly into the milled profile, and lock the router lift. This is the fastest way to replicate previous success.
Lining the grooved board up roughly alongside the router bit is the first step. Raise the bit upward until the cutting edges align visually with the center third of the stock thickness. Utilizing brass setup bars or digital calipers helps you lock in the precise center of the stock. Next, align the router table fence perfectly flush with the bit's guide bearing using an aluminum straightedge. This ensures the bearing acts as a physical stop. Finally, run test cuts on scrap wood of identical thickness to verify centering and depth. Check the groove with a caliper to ensure it matches your target dimension exactly.
Installing the tongue cutter requires careful physical gauging. Use the previously milled groove as a direct physical gauge instead of relying on tape measures or visual estimation. Slide the grooved scrap piece over the tongue bit to check the height. Utilizing a fine-thread router lift allows you to align the cutting edges of the tongue bit precisely with the inner walls of the reference groove. Iterative testing on scrap stock is mandatory to achieve the ideal friction fit. Make a cut, test the fit, adjust the lift by a fraction of a millimeter, and cut again until the boards slide together smoothly.
Positioning the fence correctly controls the tongue length. Ensure the tongue is slightly shorter than the groove depth, preserving the necessary glue gap. Managing feed direction is critical for safety and cut quality. Always feed right-to-left against the rotation of the bit. Control your speed to prevent tear-out, particularly when routing end-grain. Feeding too fast causes chipping, while feeding too slow causes burn marks on the wood. Listen to the router motor. If it bogs down, you are feeding too fast or trying to remove too much material in a single pass.
Stock Thickness Variations Causing Offset Faces: Always reference the same face (the "show" face) against the router table surface. This pushes any thickness discrepancies to the back of the workpiece, keeping the visible front perfectly flush.
Snipe at the Beginning or End of the Cut: Deploy featherboards to provide consistent downward and lateral pressure. Maintain continuous support through the outfeed side of the fence to prevent the board from dipping into the bit as it exits the cut.
Bit Runout and Vibration: Inspect collets for wear regularly. Exclusively utilize 1/2-inch shank bits for maximum stability and reduced chatter. Keep your collets clean and free of pitch buildup to ensure maximum gripping force.
Tear-out on Cross-Grain Cuts: Use a heavy backing block behind the workpiece when routing the ends of rails. This supports the wood fibers as the bit exits the cut, preventing the grain from blowing out.
Inconsistent Groove Depth: Ensure your router table insert plate is perfectly flush with the surrounding table. Any dip or crown in the table surface will transfer directly to the depth of your milled groove.
Evaluating premium micro-grain carbide versus high-speed steel (HSS) is based on longevity requirements. If you are milling abrasive materials like MDF or plywood, carbide is mandatory. It holds a sharp edge significantly longer than HSS. While carbide bits cost more upfront, they save money over time by reducing sharpening frequency and replacement costs. For softwoods and occasional use, HSS might suffice, but carbide remains the industry standard for reliable joinery. Dull bits cause burning, tear-out, and require excessive feed pressure, which creates a dangerous working environment.
Weighing the time savings of a dedicated two-router setup against the upfront capital expenditure is a common shop decision. Purchasing duplicate tooling and machinery allows you to leave one router set up for the groove and another for the tongue. This eliminates teardown time entirely. For production shops, this efficiency pays for itself in a matter of days. For small shops, investing in a high-quality router lift and accurate setup blocks provides a better balance of cost and efficiency. A good lift allows you to change bits above the table and dial in heights rapidly.
Audit your router table for absolute flatness using a precision straightedge to ensure accurate referencing.
Acquire a set of brass setup bars to eliminate visual guesswork when setting bit heights.
Execute iterative test cuts on scrap material of the exact same thickness before committing to final project stock.
Mark the "show face" of all your boards with chalk to ensure consistent referencing against the router table.
A: Always cut the groove first. The groove serves as a fixed physical reference point. It is much easier to adjust the tongue bit to fit an existing groove than to adjust a groove to fit an existing tongue.
A: Brass setup bars are the most practical tool for quick, accurate height adjustments. For absolute precision, a digital height gauge provides exact numerical readouts to the thousandth of an inch.
A: If the joint is too loose, you must re-mill the tongue on a slightly wider setting if using an adjustable bit. If using a fixed set, you may need to trim the board and cut a fresh tongue.
A: Yes, you can use a straight bit on a router table to cut both the tongue and the groove in multiple passes. However, it requires complex setups and is much slower than using dedicated joinery bits.
A: A matched two-piece tongue and groove set designed for 1/4-inch panels is the industry standard for Shaker doors. This ensures the panel fits perfectly into the frame without rattling.
A: T-Slot bits create a captive track that mechanically locks hardware or mating wood pieces in place laterally. Standard groove bits only provide a straight channel for friction-fit joinery.


